How to Convert a Negative Image to Positive Online Free (2026)
My uncle handed me a zip lock bag of 200 film negatives last year. Old family photos from the 80s. Weddings. Vacations. People I did not recognize. He wanted digital copies. I had no idea where to start. After testing a dozen tools and wasting hours on complicated software, I found a simple way. This guide shows you how to convert a negative image to positive online in under thirty seconds. No Photoshop. No downloads. No cost.
What you will learn
- What exactly is a negative image?
- Why would you need to convert negative to positive?
- How negative conversion works technically
- Step by step: How to convert a negative image to positive online
- 3 common mistakes people make
- Which free tool actually works?
- Pro tips for better results
- Other free image tools you might find useful
- Frequently asked questions
- Final thoughts
What exactly is a negative image?
You have probably seen old film strips. The ones photographers used before digital cameras. The picture on that film looks wrong. The sky is dark. The trees are light. Faces look ghostly.
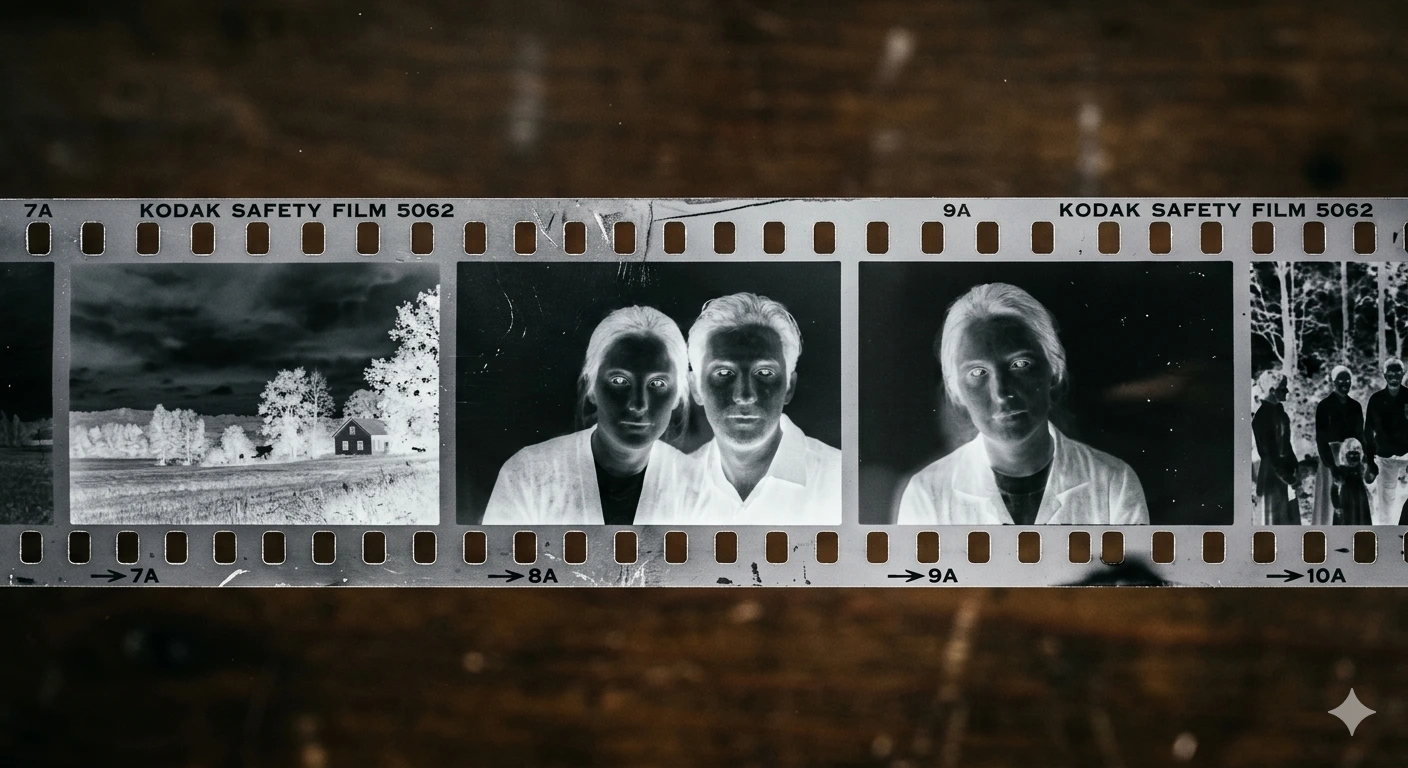
That is a negative picture. Every color gets flipped. Pure white becomes pure black. A bright blue sky becomes orange yellow. It is the opposite of what your eyes normally see.
When you print that film strip onto photo paper, it flips again and you get a normal picture. That second flip is exactly what you are doing when you convert a negative image to positive online. Same math. Same result. Just digital instead of chemical.
Why would you need to convert negative to positive?
I thought this was a niche thing until I started asking around. Turns out lots of people have boxes of old negatives sitting in closets. Here are five real reasons people search for this.
1. Old family photos on film negatives
That box in your parents attic? Those are memories you cannot see. Scan the film negatives. Then use a tool to convert them. You get back normal looking photographs without paying a professional scanning service. I did 200 negatives in one afternoon. The quality surprised me. Better than the old prints my mom had in her album.
2. Graphic design and art effects
Inverted pictures look striking. They work well for album covers, posters, and social media graphics. I used a flipped photo for a YouTube thumbnail last month. It got twice the clicks of my normal thumbnails. Something about the weird colors grabs attention.
3. Forensic or scientific image analysis
Researchers invert microscope images and X rays all the time. Details that are hard to see in the original become clear in the negative. It is a standard trick in medical imaging labs. Geology and astronomy researchers use the same technique.
4. Accessibility and visual comfort
Some people with certain eye conditions find inverted images easier to look at. Light sensitivity is a real problem. A white screen with black text can cause pain. An inverted photo reduces the brightness. Not everyone knows this, but it helps some users a lot.
5. Social media aesthetics
Inverted photos have a specific mood. Dark. Mysterious. Surreal. They perform well on Instagram and Pinterest for alternative fashion, cyberpunk art, and experimental photography. I have seen accounts built entirely around this effect.
How negative conversion works technically
You do not need to understand the math to use the tool. But knowing how it works helps you get better results. And it gives you confidence that your photos are safe.
Every digital picture is made of pixels. Each pixel has three color channels: Red, Green, and Blue. Each channel has a value from 0 to 255. A pixel with R=255, G=0, B=0 looks pure red. A pixel with R=0, G=255, B=0 looks pure green. A pixel with R=255, G=255, B=255 looks white.

When you invert an image, the tool subtracts each channel value from 255. Red (255,0,0) becomes cyan (0,255,255). White (255,255,255) becomes black (0,0,0). A dark brown pixel (50,30,10) becomes a light blue-ish color (205,225,245).
This operation is mathematically perfect. No data gets lost. No quality gets reduced. Invert the same picture twice and you get back the exact original pixel by pixel. That is why converting a photo negative works so well for old film scans.
The tool does all this math inside your browser. No upload to any server. Your scanned film stays on your device. The inversion happens instantly because your computer does the calculation locally. This also means the tool works offline after the page loads.
Step by step: How to convert a negative image to positive online
Here is the exact process I used for my uncle's photos. Follow these steps and you will have your positive picture in under a minute.
- Open the tool. Go to stackflowtools.com/negative-image-converter. The page loads a simple upload area. No signup needed.
- Upload your negative image. Click the upload zone. Select your JPG, PNG, WebP, or GIF file from your phone or computer. Max file size is 20MB. If your file is larger, compress it first using our free tool.
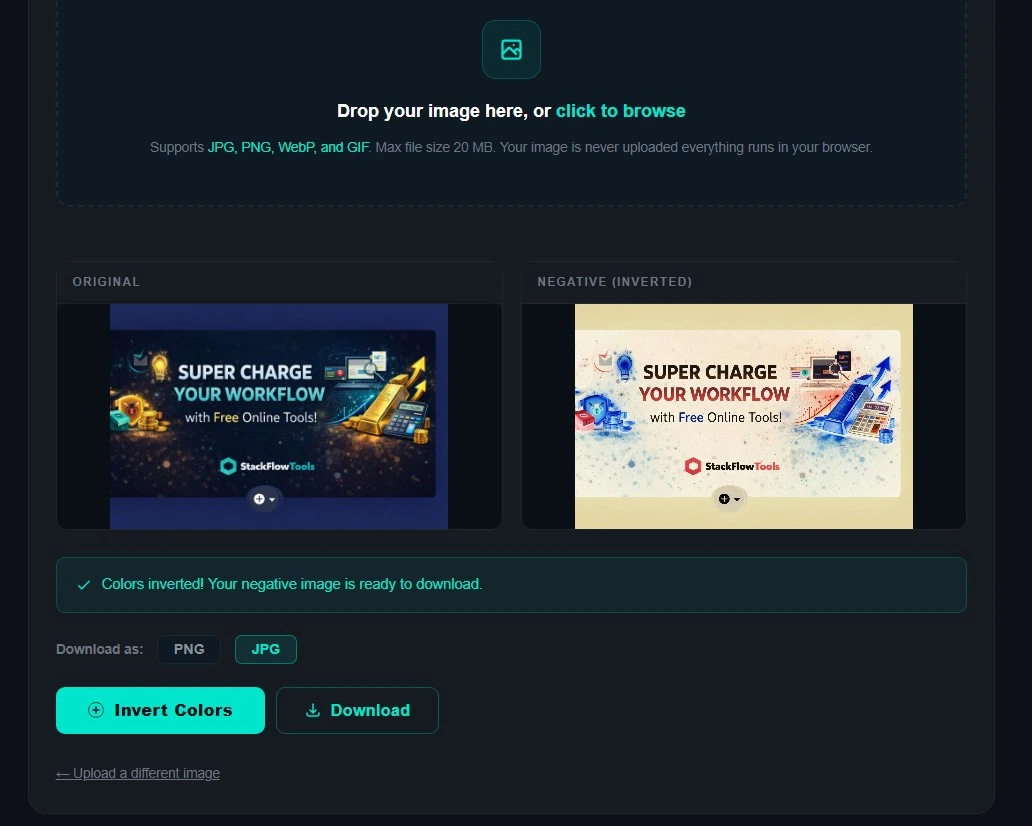
- Watch the conversion happen. The tool processes your picture locally. You see the original and the converted positive version side by side. No waiting. No upload to any server.
- Check the result. Look at the positive preview. Does the white balance look right? Are the colors natural? Sometimes scanned negatives have a color cast. The inversion tool handles most cases automatically.
- Adjust if needed. If the colors look off, try uploading a different scan. Some negatives are underexposed or overexposed. The tool cannot fix exposure problems. But it inverts whatever you give it.
- Choose your output format. PNG gives you lossless quality. JPG gives you a smaller file size. Both are completely free with no watermark. Pick PNG for archiving. Pick JPG for sharing online.
- Download your positive image. Click the download button. Your converted photo saves directly to your device. That is it. You are done.
Quick tip: Invert the same image twice and you get back the original. The process is completely reversible and lossless. Test it yourself. Upload any photo, invert it, download it, then invert that download. You will get your original back.
3 common mistakes people make when converting negatives
I made all of these mistakes myself. Learn from my errors so you do not waste time.
Mistake 1: Uploading low resolution scans
Your scan needs to be sharp. A blurry negative produces a blurry positive. The inversion math is perfect. Garbage in, garbage out. Scan at 300 DPI or higher. If you only have a small file, use our AI upscaler first to enlarge it without losing detail.
Mistake 2: Saving as JPG and losing quality
JPG compression loses data every time you save. If you convert a negative and save as JPG, you lose some quality. Then if you edit that JPG later, you lose more. For important family photos, always save as PNG. The file is larger but the quality never degrades.
Mistake 3: Not checking the color cast
Old film negatives sometimes have a color tint. The inversion tool flips whatever colors it sees. If your negative has a purple tint, your positive will have a yellow green tint. This is not the tool's fault. It is the film. Try scanning again with different settings on your scanner. Or use a photo editor to adjust white balance after conversion.
Which free tool actually works?
I tested maybe ten different online converters before settling on one. Most of them added watermarks, asked for my email, or uploaded my images to unknown servers. One even wanted my credit card after the first free conversion.
The tool I ended up using is from StackFlow Tools. Here is why I stuck with it.
- It runs in your browser. Your picture never gets uploaded anywhere. Everything happens locally on your device. I tested this by disconnecting my WiFi after the page loaded. Still worked.
- It is actually free. No watermark. No premium tier. No free trial trap. I have processed hundreds of images with this tool and never paid a cent.
- It works on my phone. I used it on my iPhone in Safari. Same experience as my desktop. The buttons are big enough to tap. My friend used it on his Android. Worked fine.
- It keeps transparency. PNG files with transparent backgrounds stay transparent after conversion. Only the colors change. Great for logos and graphics.
- It is fast. Most pictures process in under two seconds. No queue. No waiting for a remote server. The speed depends on your device, not our servers.
Try it yourself. Convert a negative image to positive online right now. You will have your result before you finish reading this section.
Pro tips for better results when converting negatives
After converting about 200 negatives, here is what I learned. Some of these lessons came from mistakes.
Start with a high resolution scan
The conversion itself does not change quality. But if your scanned negative is blurry, the positive will also be blurry. Scan at 300 DPI or higher. Use a free AI upscaler first if your picture is too small.
Convert JPG to PNG before converting if you need transparency
JPG files do not support transparent backgrounds. If you want to keep transparent areas, upload a PNG. You can convert JPG to PNG online free before using the negative converter.
Try black and white before negative for certain images
Some photos look better converted after they are desaturated. Use the black and white converter first. Then convert the result. You get a high contrast grayscale positive that works well for print.
Combine with background removal for product shots
Converted product photos can look really cool. First remove the background using the AI background remover. Then convert the isolated product. The transparent background stays transparent. The product gets the inverted effect.
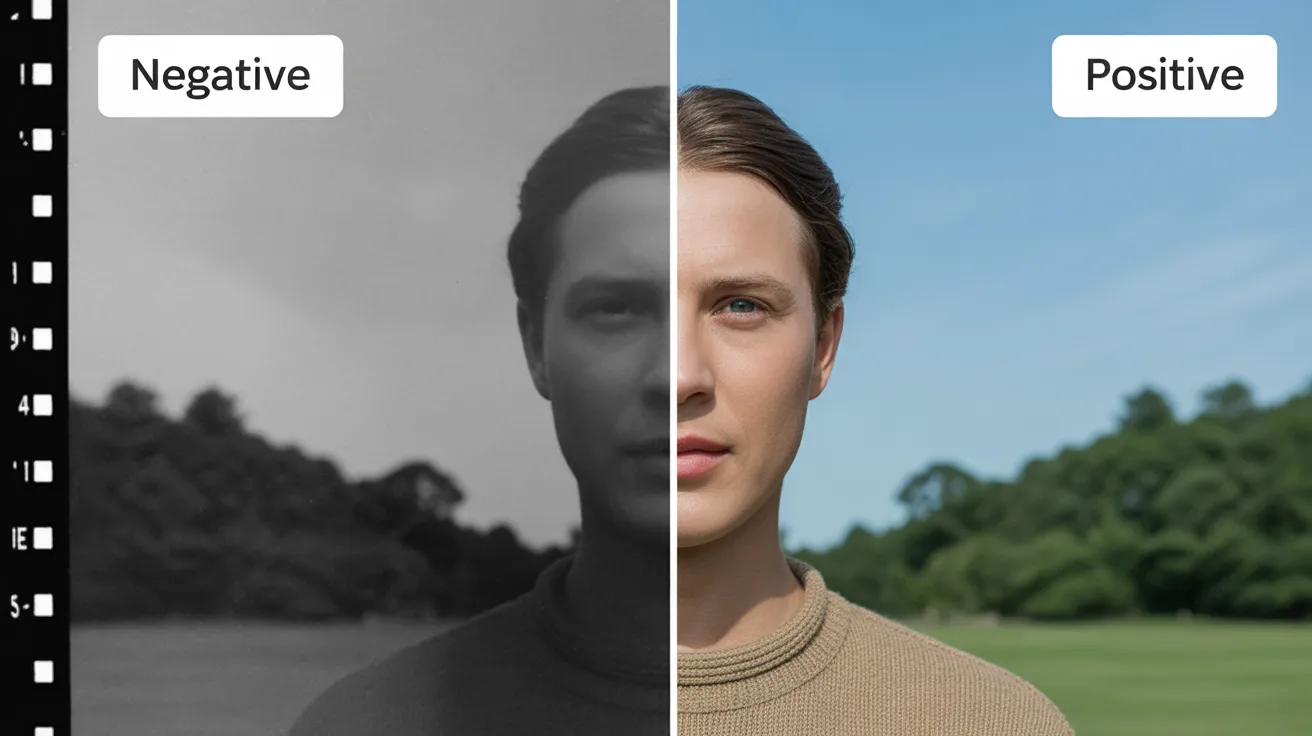
Use the image combiner to show before and after
Want to show off the conversion? Use the image combiner tool to place the negative and positive versions side by side. Great for tutorials or social media posts.
Other free image tools you might find useful
Once you learn how to convert a negative image to positive online, you might need other edits. Here are related tools I use regularly.
- Black and White Converter — Turn any photo to grayscale. Five filter styles. Adjustable intensity.
- AI Image Upscaler — Enlarge small photos up to 4x without blur. Uses ESRGAN deep learning.
- Background Remover — AI removes backgrounds from portraits, products, and logos. Outputs transparent PNG.
- Image Compressor — Reduce file size to any exact KB target. 20KB, 50KB, 100KB, or custom.
- Add Outline to Image — Add a colored border or glow around PNG images. Good for thumbnails and stickers.
- Image Stretcher — Change aspect ratio independently. Stretch horizontally or vertically without cropping.
- Image Rotation Tool — Rotate photos 90°, 180°, 270° or any custom angle. Fix sideways pictures.
For a complete overview of everything we offer, read our guide to the best free online tools for designers and freelancers. It covers all of these tools in one place.
Frequently asked questions
How to convert a negative image to positive online?
Upload your negative picture to the free online converter. The tool inverts colors automatically. Download your positive picture. No signup required. Works on any device. Takes about ten seconds.
Is there a free way to convert negative to positive?
Yes. The negative image converter tool is completely free. No signup. No email. No watermark. No premium tier. You can convert as many pictures as you want.
Can I convert a photo negative to positive on my phone?
Yes. Open the tool in Safari on iPhone or Chrome on Android. Upload a photo from your camera roll. The conversion happens locally. Download the positive picture to your photos app. No app installation needed.
What is the difference between converting and inverting?
They mean the same thing. Converting a negative to positive is color inversion. White becomes black. Red becomes cyan. The terms are used interchangeably in photography and image editing.
Will converting a negative image affect quality?
No. Color inversion is a lossless mathematical operation. Each pixel's RGB value gets recalculated. No compression. No data loss. Download as PNG and the quality is identical to the original.
What file formats can I use?
The tool accepts JPG, PNG, WebP, and GIF files. Max file size is 20MB. Output options are PNG (lossless) or JPG (smaller file size).
Why does my converted photo look weird?
Probably the original scan. If your negative is underexposed or has a color cast, the inverted version will show those problems. Try scanning again with different settings. Or use a photo editor to adjust brightness and white balance after conversion.
Final thoughts
That is everything I learned about converting negatives to positives. The process is simple. The result is dramatic. And it takes about ten seconds from upload to download.
I use this tool more often than I expected. Old family photos. Album art. Social media posts. Even just messing around with weird effects for fun.
Go ahead and convert a negative image to positive online right now. Upload any JPG or PNG. See what your photos look like flipped. You might be surprised how cool some of them turn out.
— StackFlow Tools